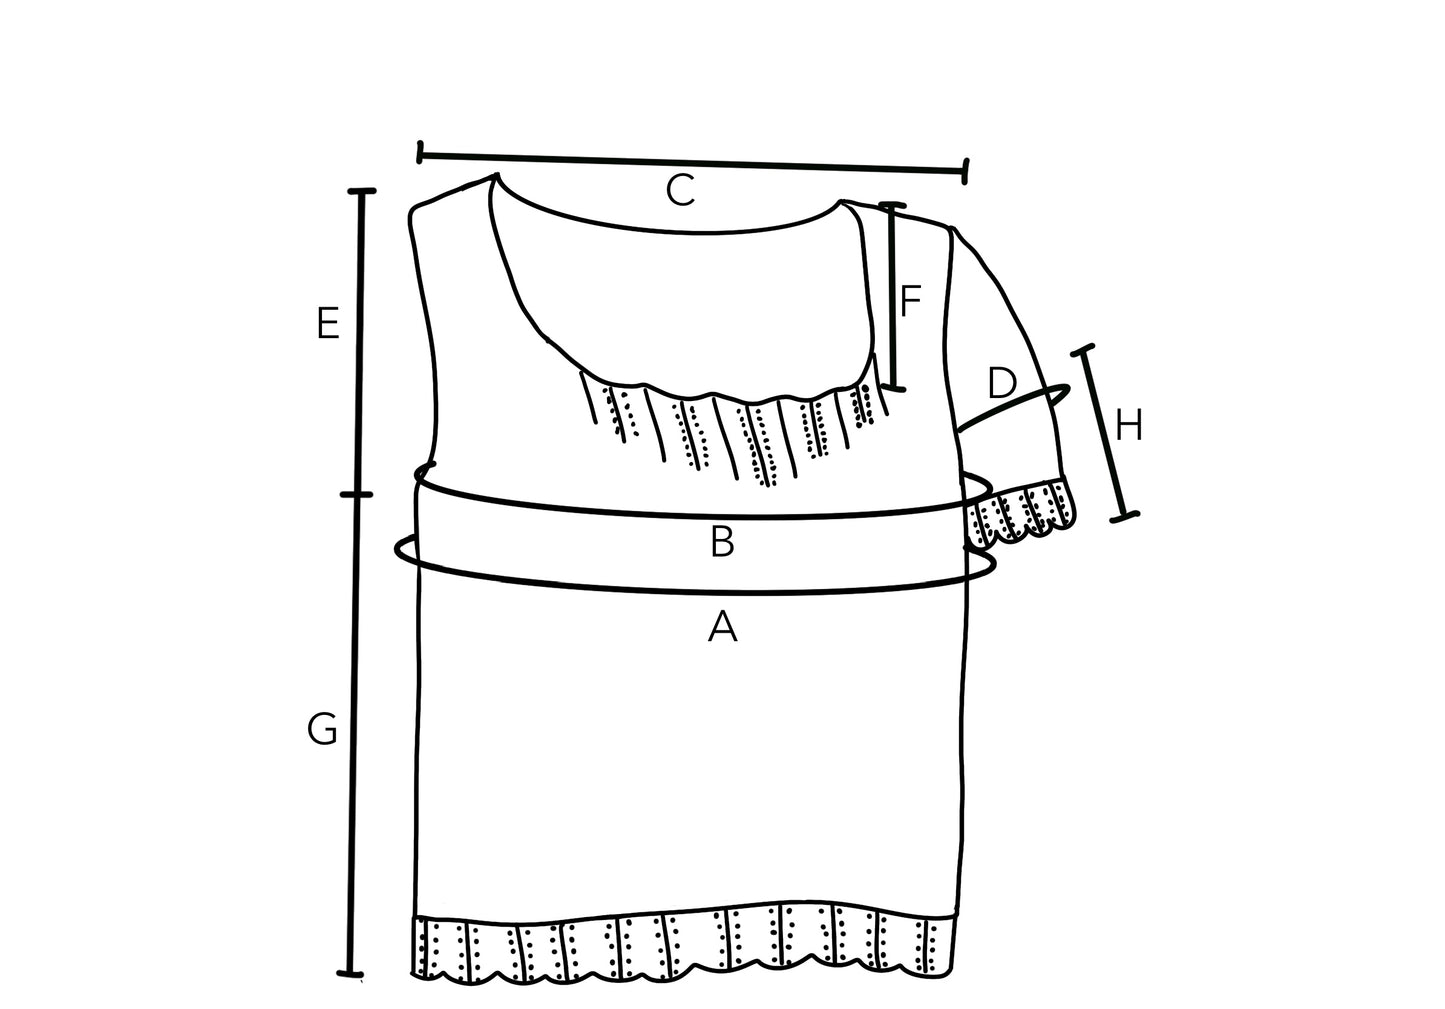
Another Variable to Consider
In the Construction Overview: Top-Down Set-In Sleeve blog post I emphasized the importance of the width of the top of the sleeve cap, here we’re going to talk about the overall depth / length of the sleeve cap.
A great deal of my understanding of sleeve caps has come from trial and error, and seeing what does and doesn’t work during test knits. There’s a lot of flexibility in knitting, but I’m always in pursuit of better fit. This is why I find test knitters invaluable, I’m not sure how a tech editor would be able to check for this kind of thing. Here’s a recap of my sleeve cap journey and how test knitters helped me improve the fit:
1. Chainmail Blouse: The original sleeve cap was too short, I was lengthening each short row by 2 stitches all the way to the underarm cast on. The sleeve cap was altered to lengthen each short row by 1 stitch, until the sleeve cap more or less reaches the underarm shaping, a slight variation of Barbara Walker’s method. I found a video that divided the armhole into thirds. The sleeve cap was meant to stop once it reached 2/3rds down each side. As it’s also common practice to limit armhole shaping to the bottom 1/3rd of the armhole, I can see where the guideline to stop at the underarm shaping came from.
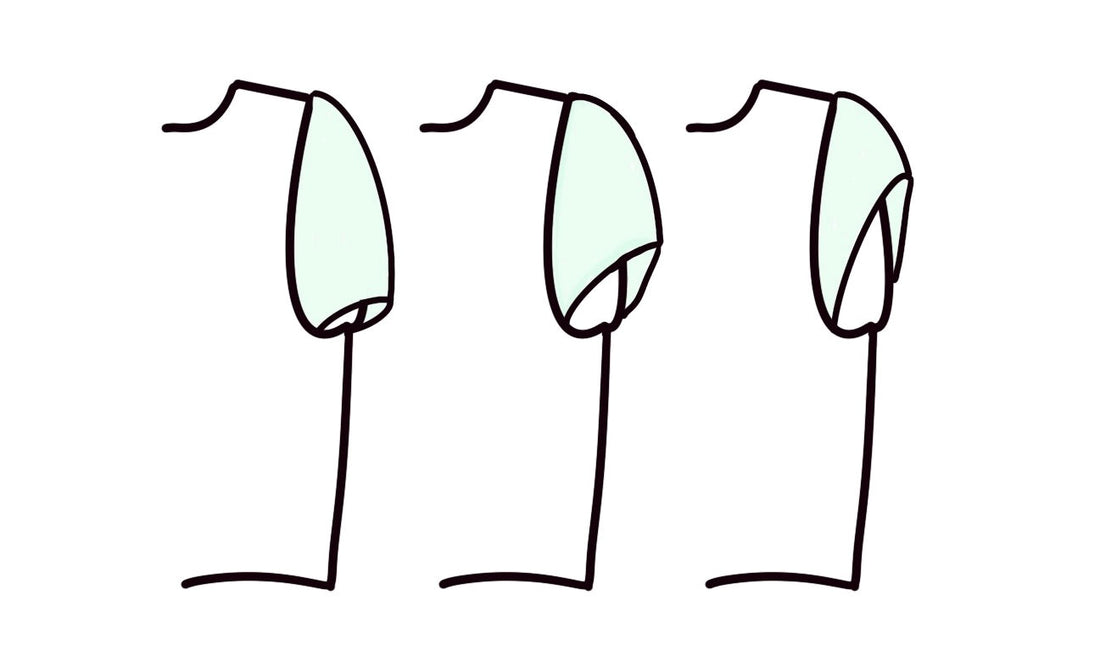
2. Malinois Cardigan: The width of the top of the sleeve cap was too narrow, especially in the larger sizes. Widening it allowed it to wrap nicely around the top of the shoulder, and there were fewer remaining stitches, resulting in a shallower sleeve cap.
E.g. 30 stitches were picked up from the underarm to the shoulder seam on each side. If the top of the sleeve cap is 10 stitches wide, that leaves 25 stitches on each side to work the sleeve cap. If it’s 20 stitches wide it only leaves 20 stitches on each side.
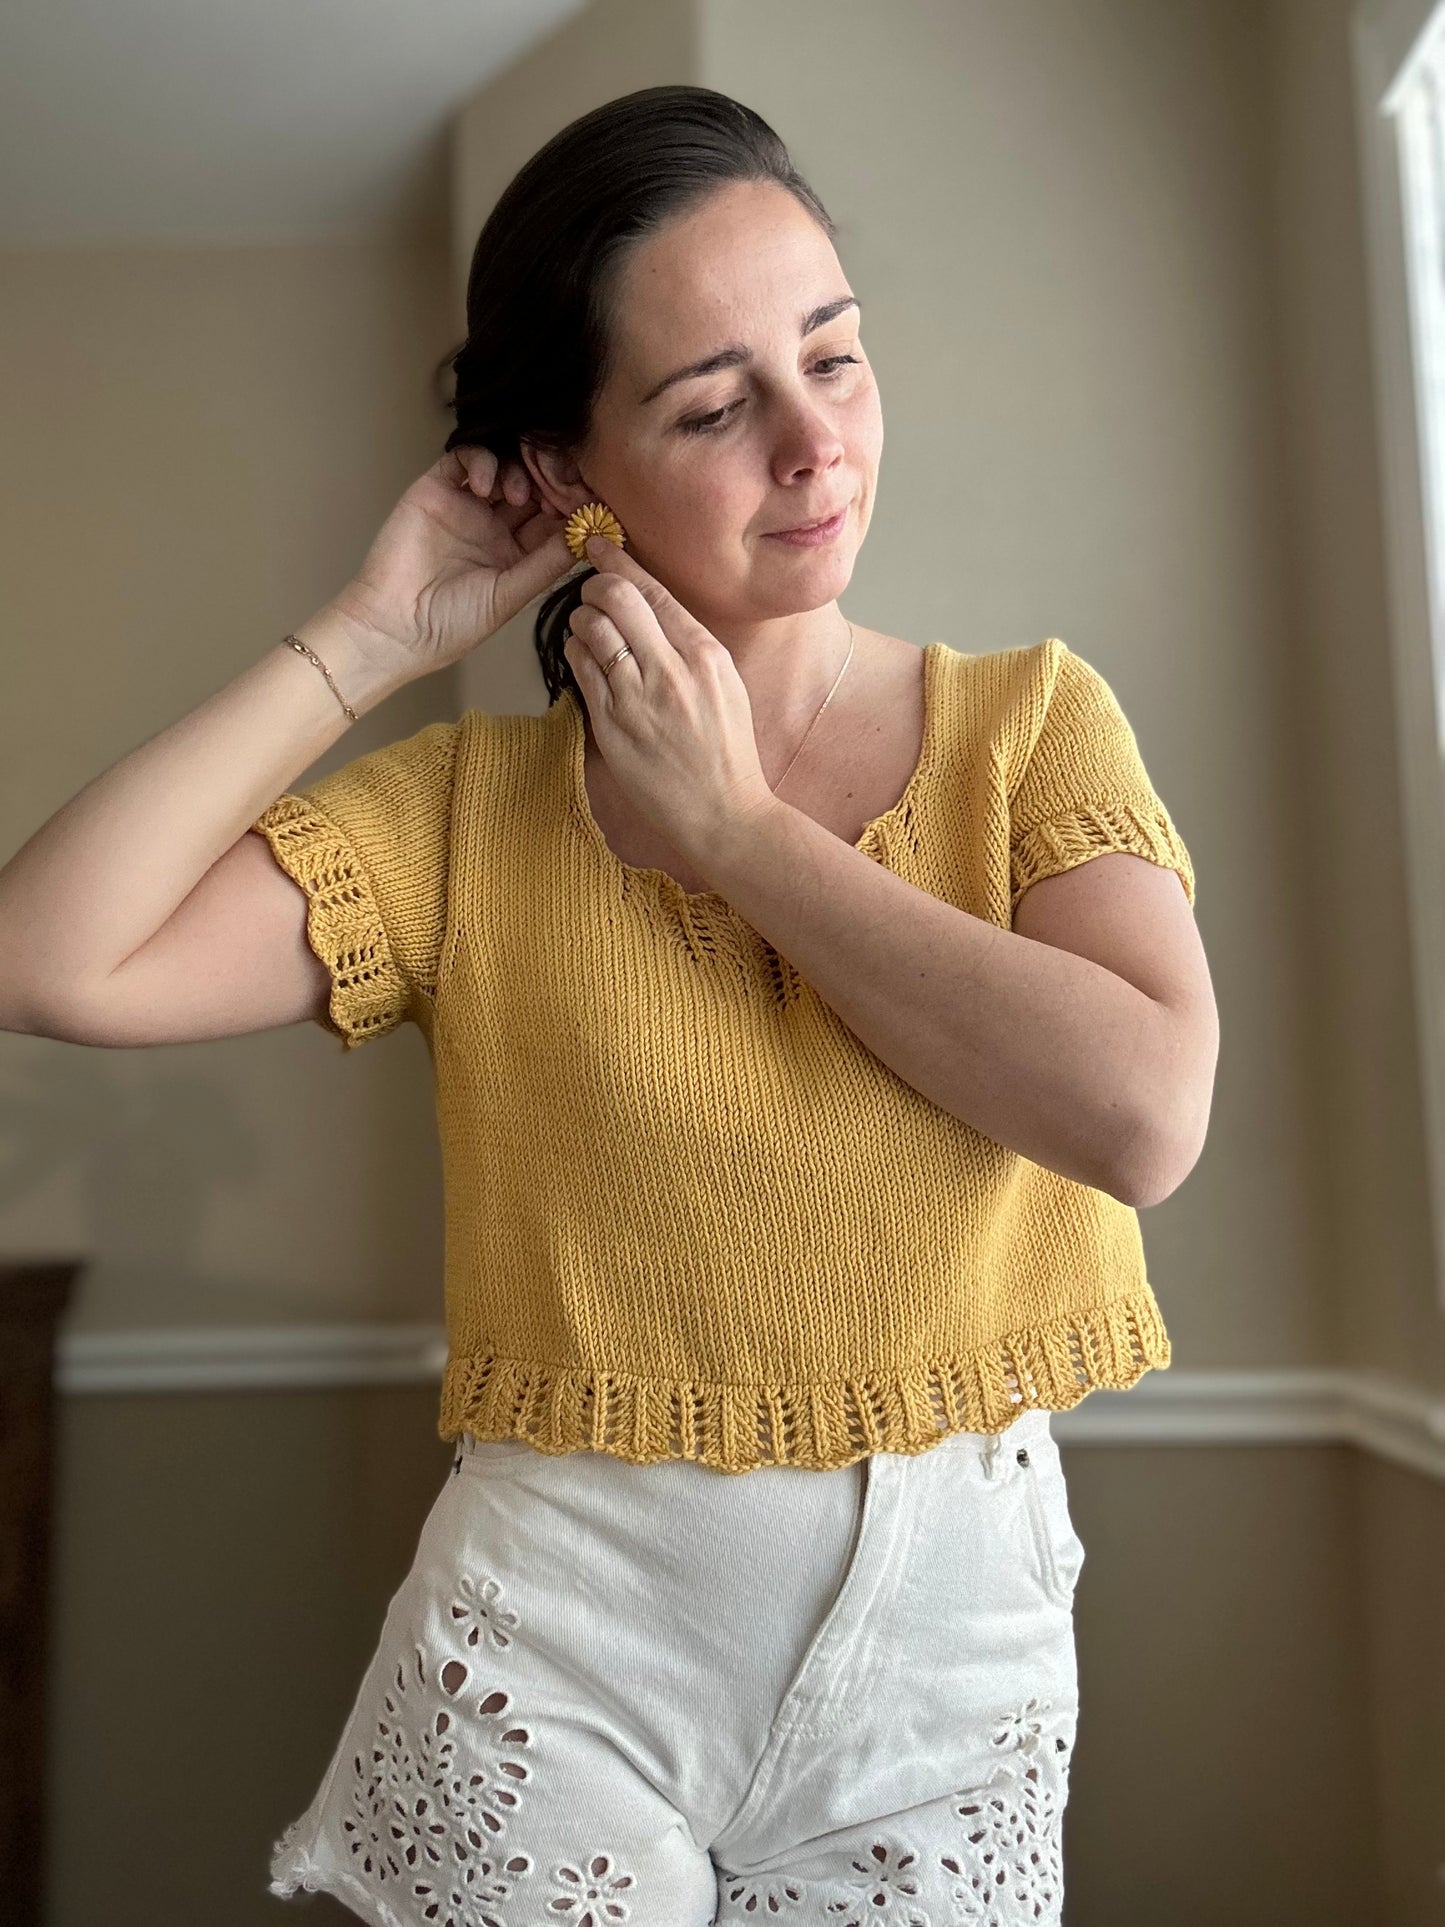
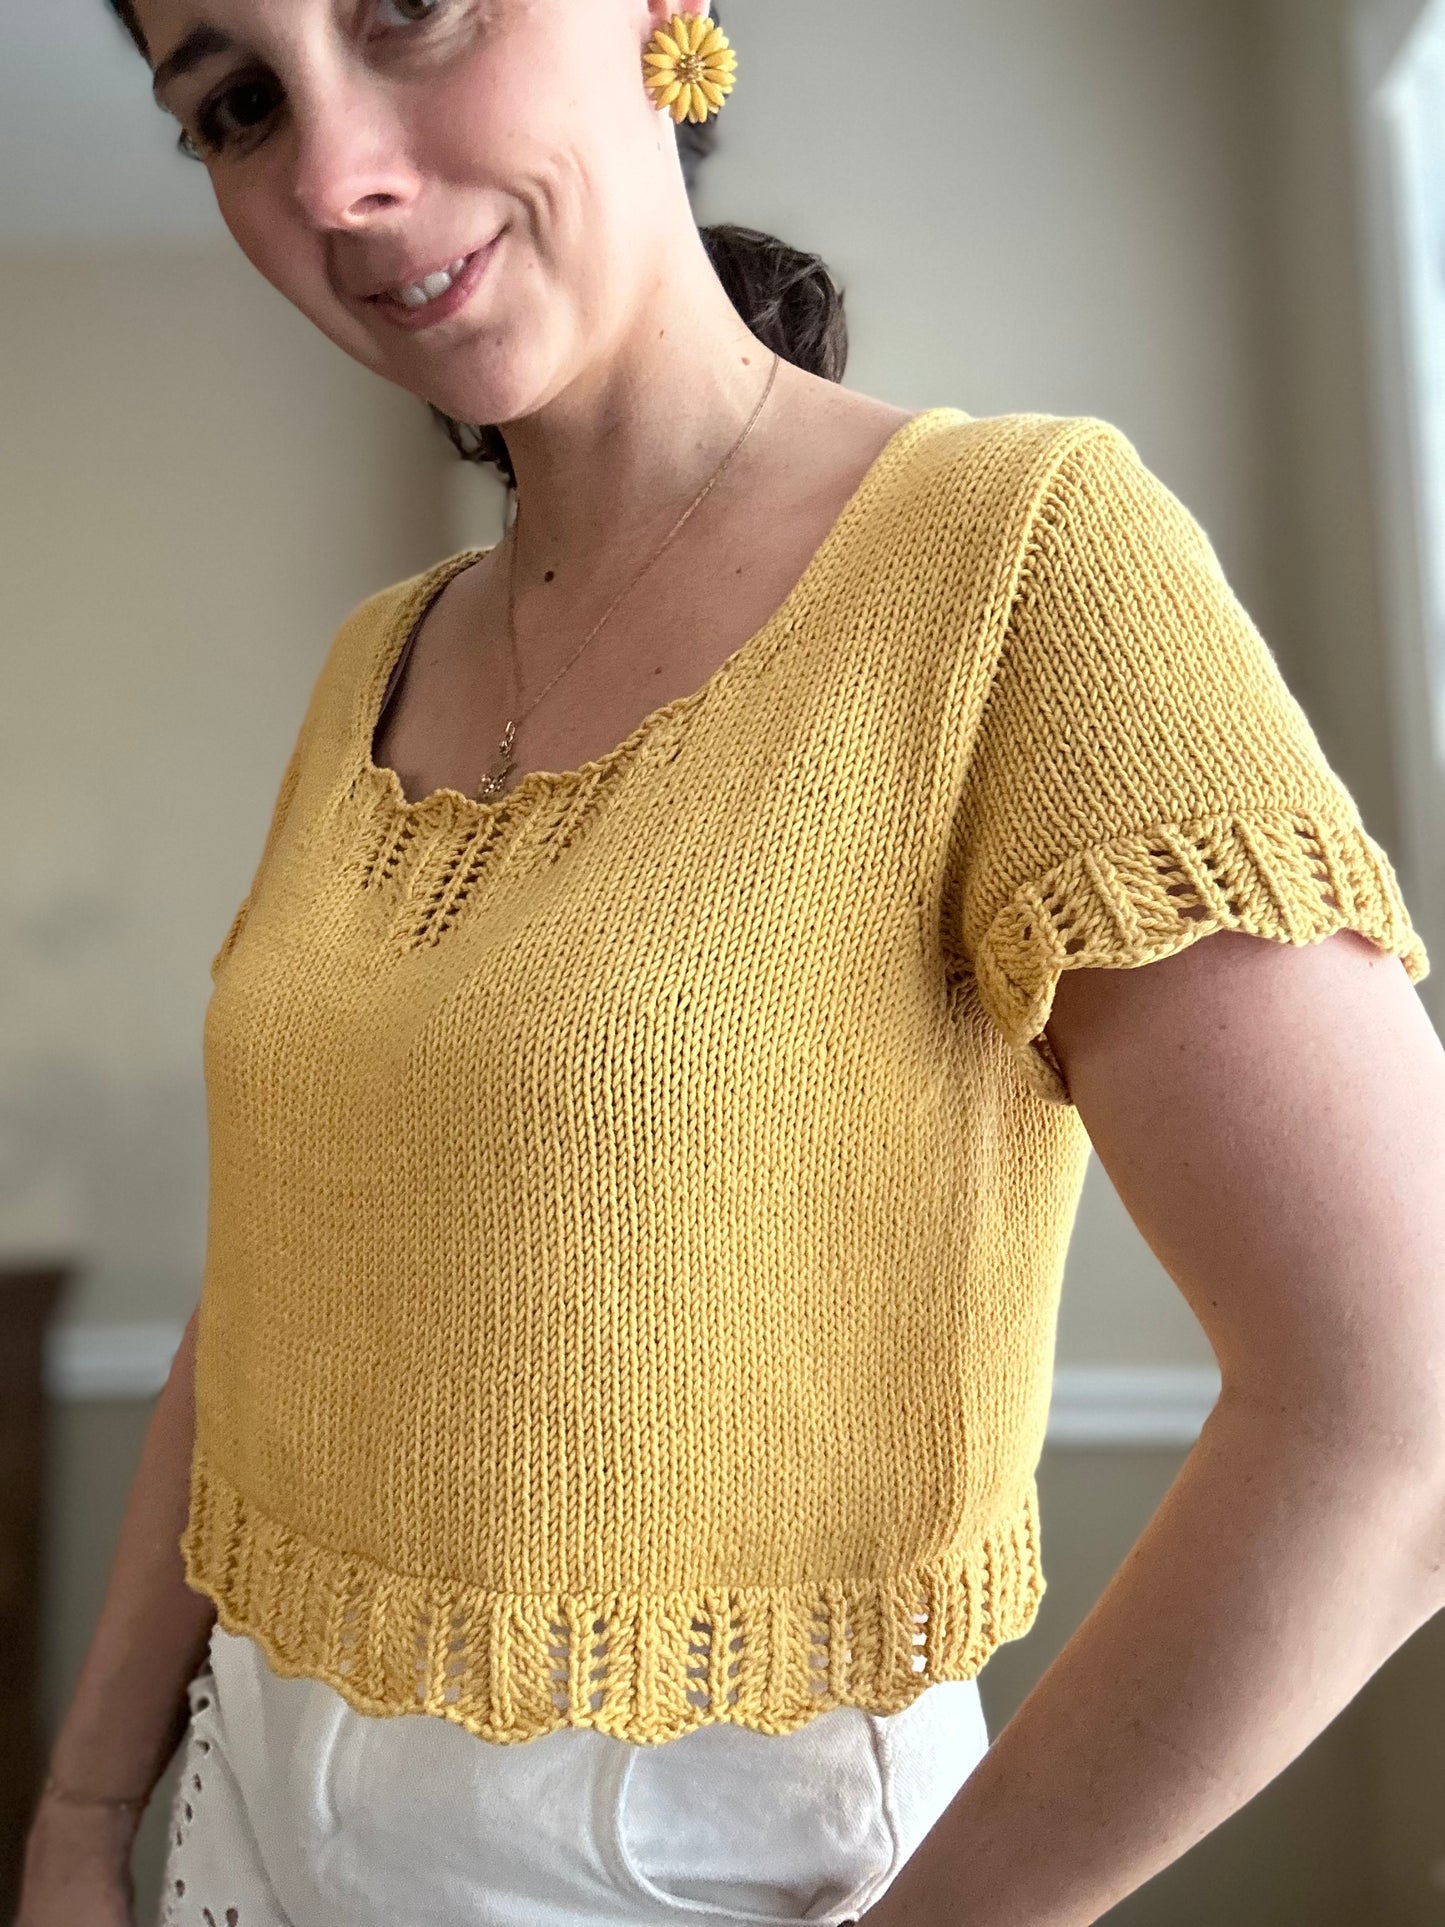
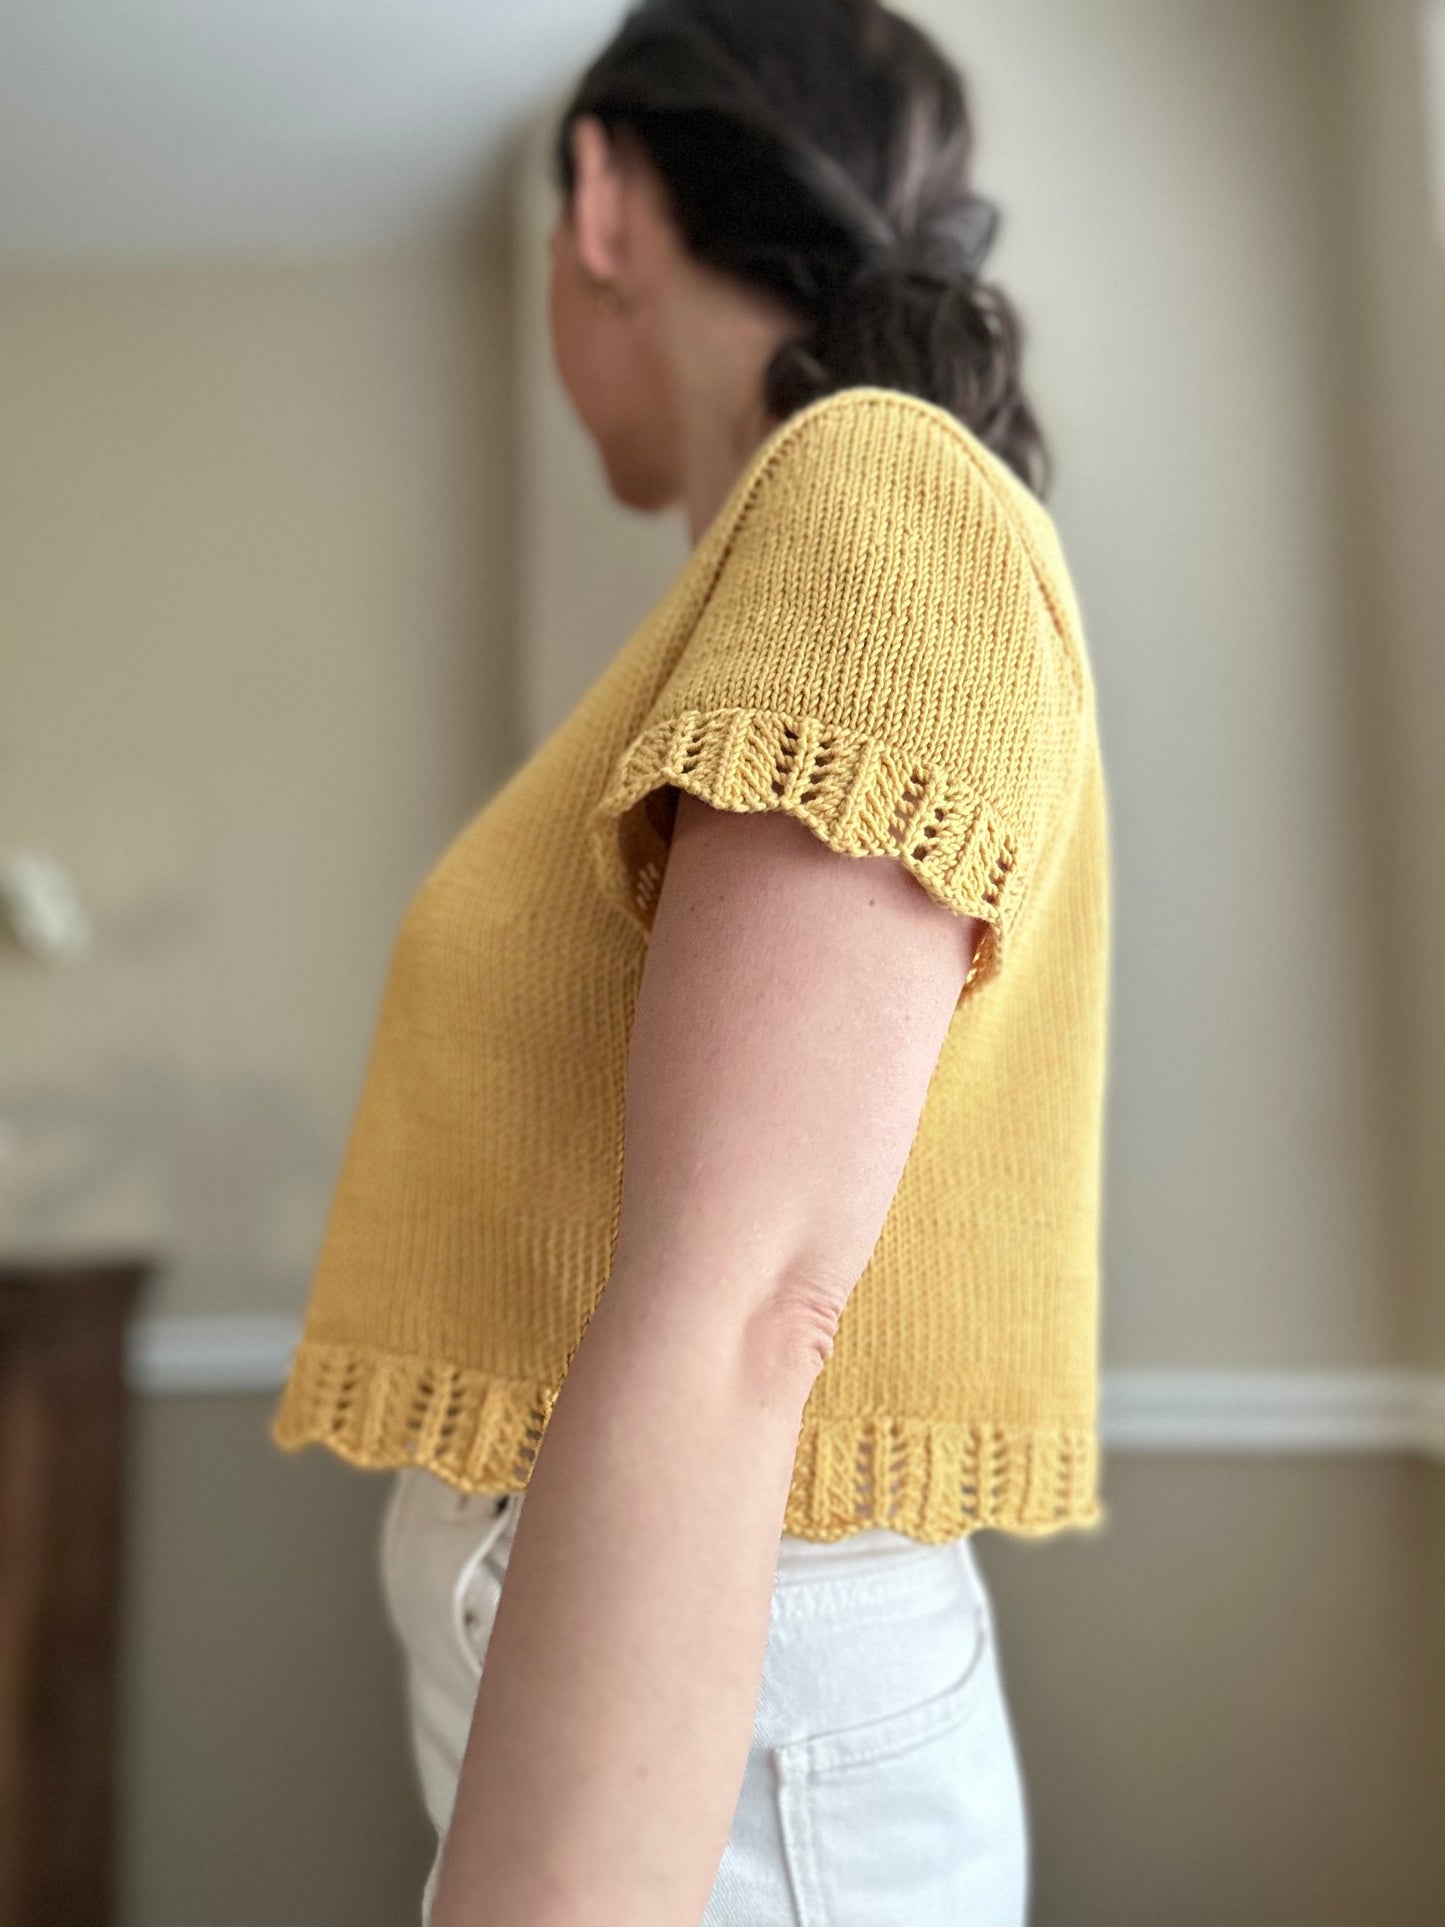
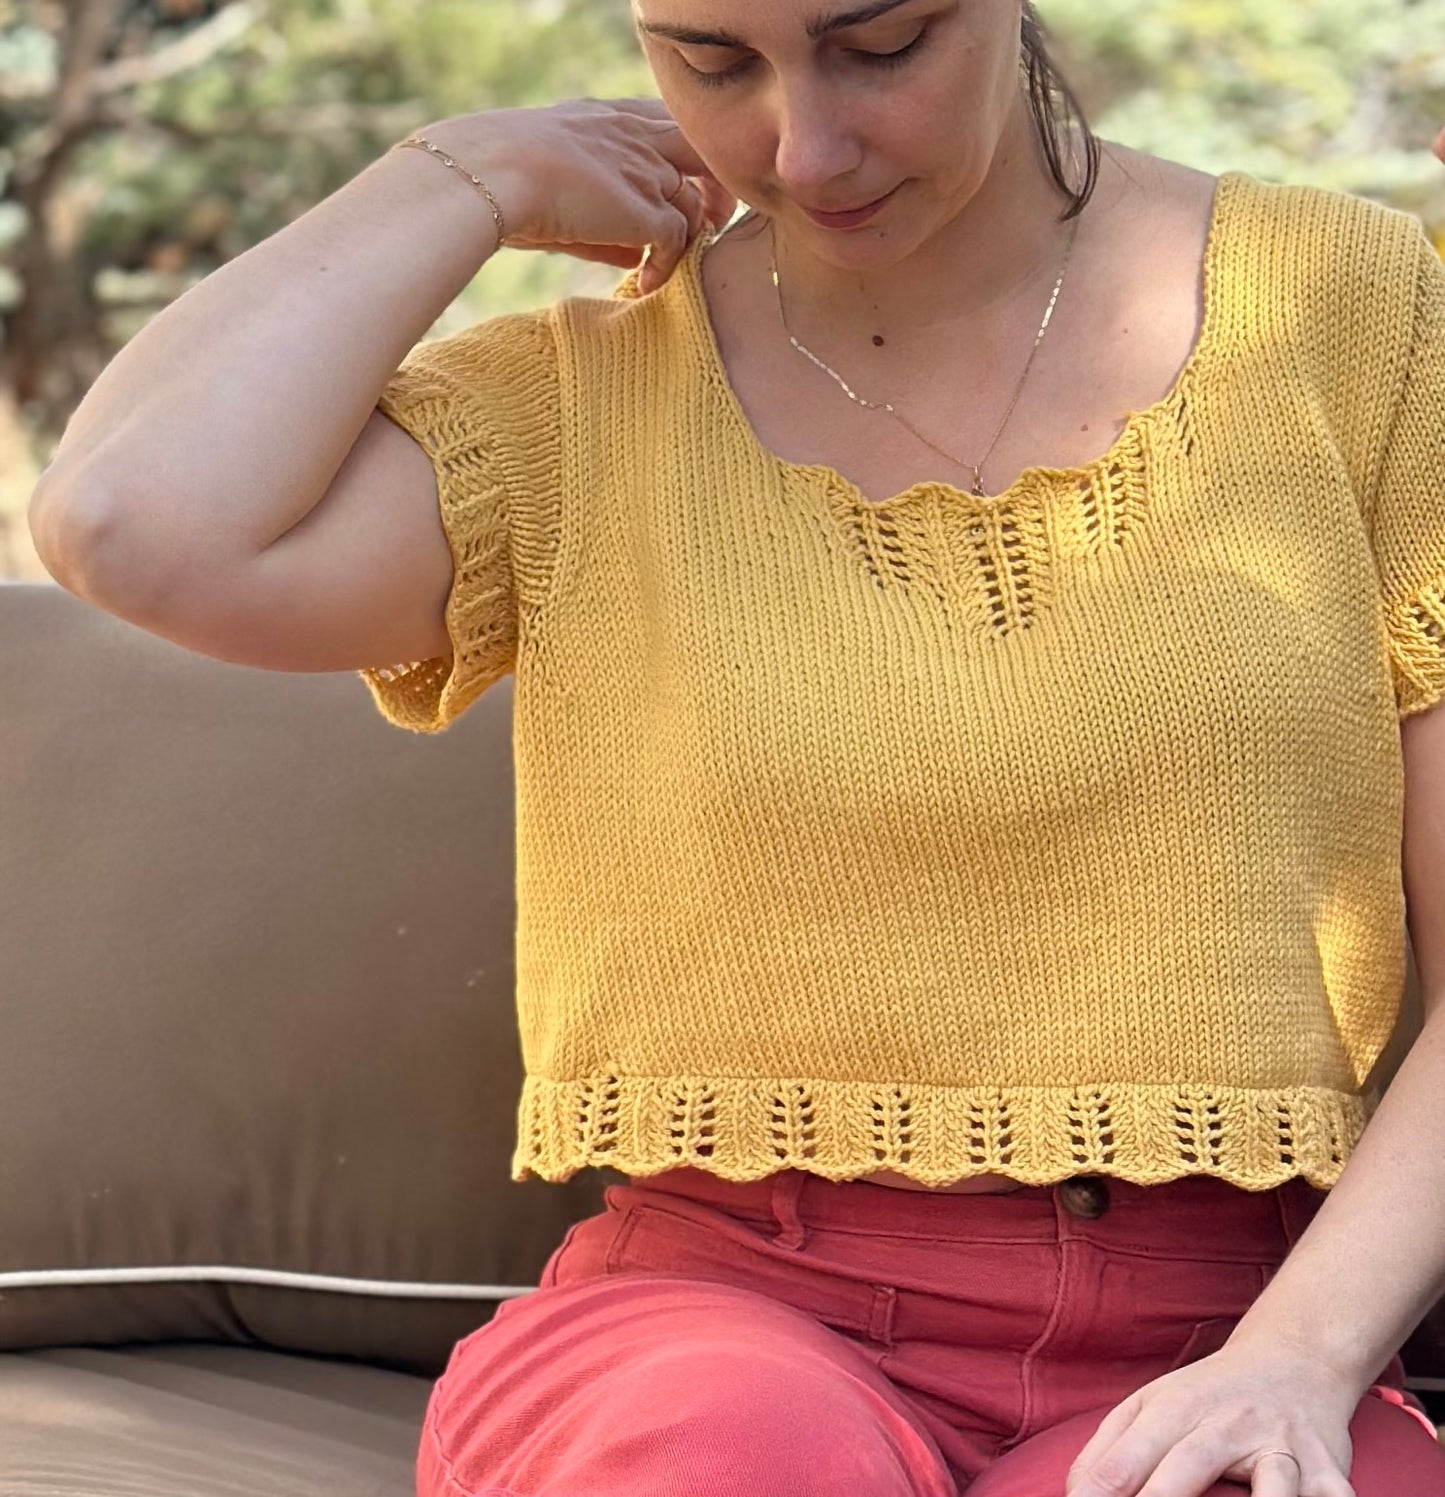
3. Camille Tee: The sleeve cap was too deep, causing it to bunch up around the top. I had also originally stopped the short rows about 2/3rds down the armhole, which caused the sleeve to bend strangely at that point, causing excess fabric at the sides when worn. The Dress Pattern Making article (see free resources below) is what opened my eyes to the issues, making me realize I needed to decide how deep I want the sleeve cap to be, rather than letting the shaping guide the result. Which raises the question….
How Deep Should It Be?
It depends on the look you’re going for. I highly recommend checking out the Dress Pattern Making article. For a fitted sleeve with no extra ease in the sleeve cap (no puff sleeve), a longer sleeve cap is good for getting the bicep line parallel to the floor. For a sleeve with more ease in the bicep, a shorter sleeve can can be good. A shorter sleeve cap can be great to increase the range of movement. For the Camille Tee, I realized I wanted the bicep line to angle slightly up, for better range of movement, and because it gives a more energetic and uplifting vibe to the piece.
Gaining control of the sleeve cap depth meant letting go of the simple guideline to always lengthen each row by 1 stitch. The resources listed below all use multiple shaping rates to get a bell shaped sleeve cap, the shaping also reaches all the way to the underarm cast on.
Sister Mountain delves into spreadsheets and formulas for calculating bottom up sleeve caps. Their guideline is to make the sleeve cap between 3”-4” / 7.5 cm - 10 cm shorter than the armhole depth. I think that’s a good guideline, especially if you don’t have a specific look you’re going for.
With Camille I’m letting the number of stitches and the number of rows that need to be worked dictate the rates at which the short rows are lengthened. This resulted in two rates per size. Methods 2 and 3 that Roxanne described would place the wider rate at the top of the sleeve cap, and the steeper rate at the bottom. However, when looking at a sewn sleeve cap, the curve is similar to what we find in compound raglans, shallow at the top AND the bottom, with a steep section in the middle. Step 4 in Jenna Wilson’s article has an illustration of what this would look like in a sleeve cap, basically splitting up the shallower rate and using the steeper rate in the middle.
I don’t like the top of the sleeve cap to be very narrow, (from my experience with the Malinois), so I’ve chosen a slightly wider top, and to place the steeper rate (lengthening by 1 stitch) at the top of the sleeve cap, followed by the shallower rate (lengthening by 2 stitches). This aligns with the bottom up version by Sister Mountain.
Comparing The Sleeve Caps
Here’s a comparison of the old Camille sleeve cap and the new one. I’ve highlighted the new one in green.
Front View:
You can see the old sleeve cap angles down, because the sleeve cap is too long. There’s also excess fabric on the outside of the sleeve, exacerbated by the fact that the sleeve cap didn’t reach all the way down the underarm cast on.
The new sleeve cap angles up slightly, and has eliminated the excess fabric.
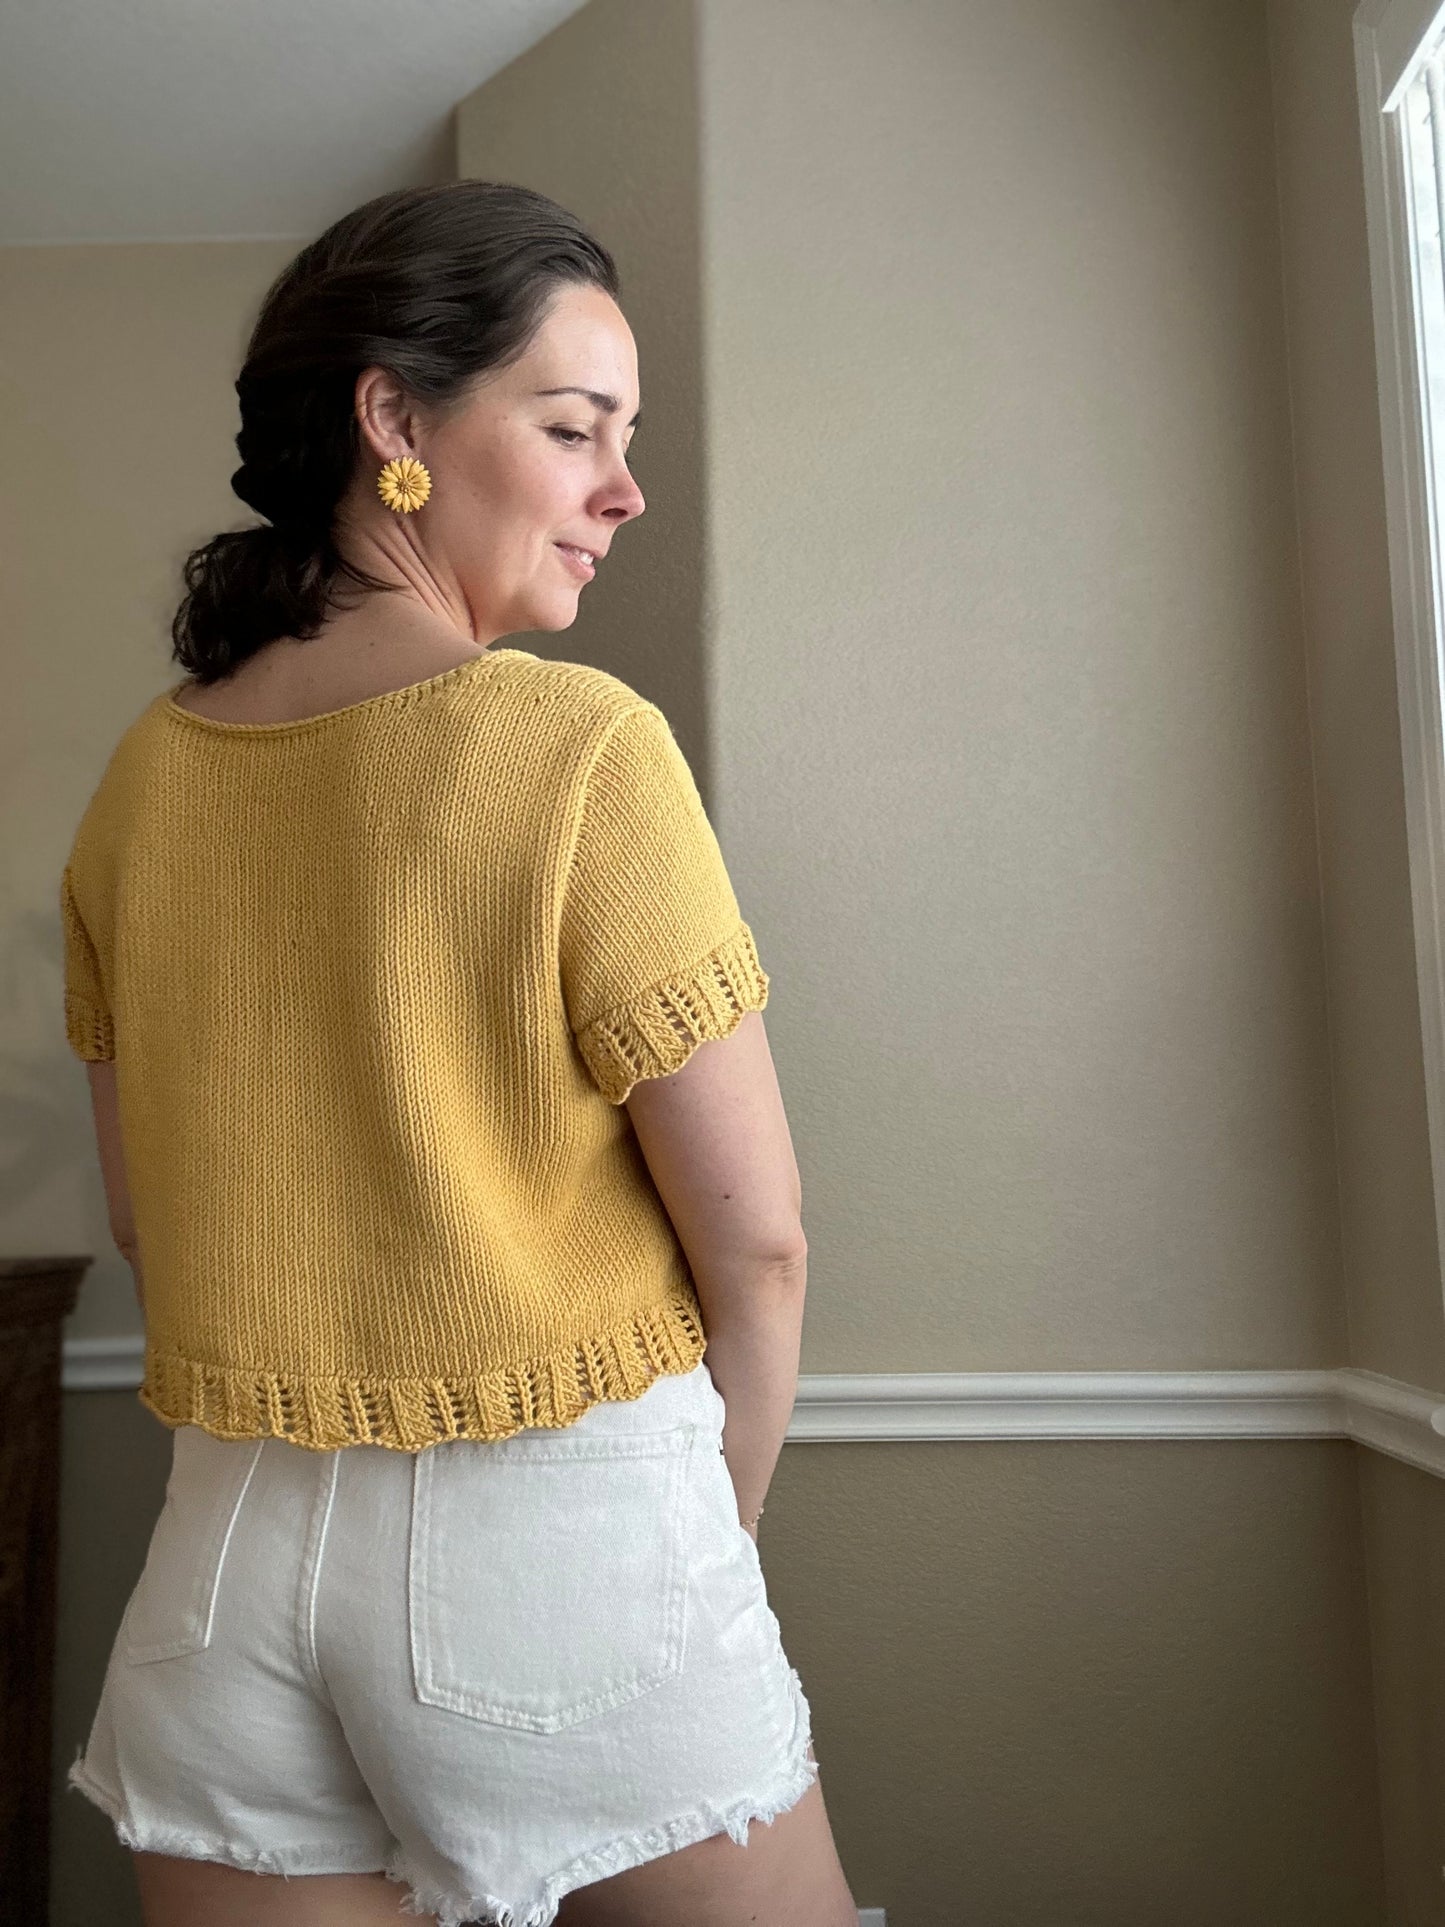
Back View:
Not only does the old sleeve angle down, but there’s a bulge of excess fabric in the sleeve, and the armscye is distorted.
The armscye is much smoother with the new sleeve cap, and all the bulges have been eliminated.
I’m really pleased with how the new sleeve cap came out, what do you think?
I’ve incorporated this method of grading designing them into all of my designs, including my drop shoulder garments.